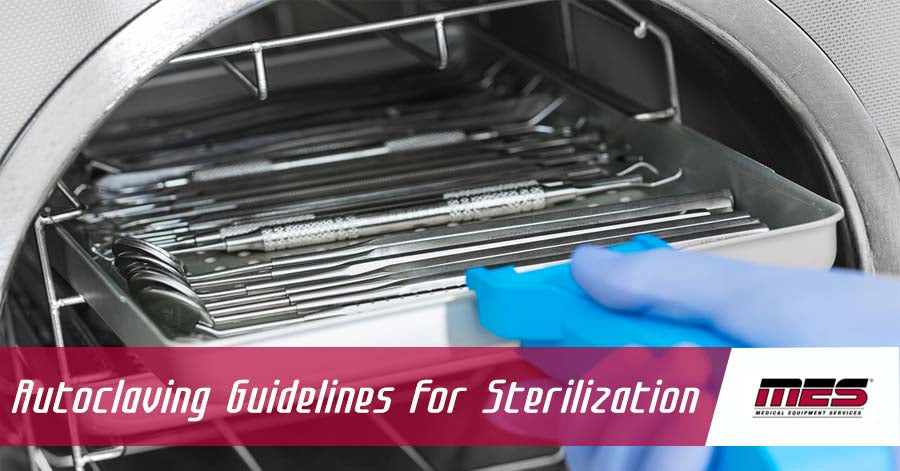
Exercise of due caution and compliance with stringent regulatory requirements is necessary when it comes to operating an autoclave.
I. Inspect the drain screen on the autoclave
The air in the autoclave chamber must be flushed out by steam for efficient transfer of heat. If a layer of air is allowed to form at the autoclave’s bottom end due to a blockage in the drain, proper operation will be hindered. Before using the autoclave, be sure to check the drain screen at the bottom of the chamber. Any debris should be cleared out.
II. Get the research materials ready for sterilisation
Glassware handling instructions:
- Pyrex bottles should be loosely capped (Doing this for filled or empty bottles will help eliminate any explosion risks)
- Use aluminium foil to cover any glass bottles not made of Pyrex (safety glass)
Liquid handling instructions: Containers should be half full of liquids
When handling combination loads, organic materials such as oil, cloth and paper, should not be combined with strong oxidizing materials such as hypochlorites.
III. For all the items being autoclaved, utilize secondary containment.
For secondary containment, utilize stainless steel or polypropylene.
The plastic container used should be designed for autoclaving use. Note that all plastics do not stand up well to the autoclaving process. Use the initials printed at the bottom of the plastics to identify whether they can be used in autoclaving.
Useable Plastics Include:
- PP - assigned recycle number 5 - (Polypropylene)
- PC - recycle number not assigned - (Polycarbonate)
Unusable Plastics:
- PE - assigned recycle number 1 - (Polyethylene)
- HDPE – assigned recycle number 2 – (High Density Polyethylene)
Place any containers that you are unsure of in an autoclave safe container the first time you use it.
For the autoclaving process, pick a container with the widest and lowest sides.
Allow steam circulation by leaving space in between the items in question.
IV. Securely close the autoclave door.
Before selecting the cycle, make sure that the door is tightly sealed.
V. Select the right cycle.
Select the “slow exhaust” or liquid cycle for liquids.
VI. For sterilisation and drying, set the correct time.
The recommended sterilisation times are contained in these instructions. You laboratory’s operating procedures should guide you every step of the way.
For dry non-hazardous items: Sterilisation should take half an hour, while drying takes twenty minutes. For enclosed items such as bottles fitted with lids and pipette tips, consider increasing the drying time.
Liquid Instructions (for crowded items increase the time by ten to twenty minutes):
- Half an hour if less than half a litre
- Forty minutes if between half a litre and one litre
- 55 minutes for anything between two to four litres
- One hour if more than four litres
Before opening the door, allow the liquids to stand for no less than 10 minutes after the completion of the cycle.
It’s worth noting that you can increase the strength of new glassware by tempering it partially through autoclaving.
VII. Commence the autoclaving process.
To start the cycle, simply push the “START” button.
VIII. Use the autoclave log to document everything.
For the technician to fill out all the necessary details including the date each machine should have its own autoclave log.
IX. When the process is complete, take the following precautions:
Put on the necessary safety gear:
- Laboratory coat
- Safety goggles
- Shoes with closed toes
To remove hot glassware and other items, use heat resistant gloves.
Before you open the door, be sure to wait for the pressure gauge to drop to zero.
Wait until the cycle comes to an end before opening an autoclave set for “slow exhaust”. The operator may be injured and/or the autoclave damaged by superheated liquids that boil over as a result.
Carefully open the door. Open the door slowly while standing behind it. Before reaching inside, give all the steam the opportunity to escape.
To avoid causing any movement that may cause liquids to boil over, leave them to stand for ten to twenty minutes after opening the autoclave. Lastly, cautiously remove the items.


